Showing posts with label bread. Show all posts

Saturday, July 27, 2013

Delicious Homemade Pizza for 2

This is a very simple recipes yet delicious. Pizza is a comfort food. To me, it is just like an open toast sandwich. If you fold the pizza half & seal it, it became a Calzone. It just like a big curry puff. The only different is the fillings inside.

Pizza topping is very personal. Just be creative with the topping ingrediants, I even put tomato sauce on top with sambal ikan bilis sauces, red onion & some prawns. Sound very South East Asia right? 

My toppings: bacon, sausages, red/yellow bell pepper & onion. Use any store bought pizza sauces for convenient. Usually I will buy big tall bottle of tomato pizza sauces, use 2/3 for pasta & 1/3 for pizza. It keeps well in the fridge for a few days. Read the label.


Another tip- use high quality mozzarella cheese.


This is a perfect recipes for Pizza for 2 adults. It can be made into 1 big pizza or two medium thin pizza.

200g Hi Protein Bread flour
1tsp Dry yeast
2tsp Sugar
2/3 tsp Salt
140cc warm regular tap water

Method:
1) Mix yeast with water, add into the flour + sugar + salt (mix all dry ingredients 1st).
2) Knead the dough with bread machine or by hand.
- Machine  (need to work the dough for about 8 mins)
- By hand (need to work the dough for 15 mins)
3) Make the dough into a round shape. Let it rise in an air tight container or any bowl cover with a wet towel/ wrap. keep it in a warm place. It will rise to almost double the size in 30-40 mins.
4) Then, punch the dough down, you can divide into two single pizza & use a rolling pin to flatten the dough. Remember to flour the table top. Make sure the flatten dough do not stick on the table surface. Use a fork to make some hold on the flatten dough. It is best roll in on a marble table if possible. Oh yes, the reason I buy the classic marble table which is so 80s....
5) Spread the tomato sauces, then sprinkles any of the ingrediats of your choice, lastly top it with the mozeralla cheese. Let it rest for 10 mins.
6) Remember to pre-head the oven at 220'C & bake the pizza for 10-12 mins.


As usual, I never taken a baked pizza picture, this is because when the pizza is ready, we dig in too fast.


Wednesday, October 5, 2011

My Bread Journey - Basic Baguette Recipies

It is an amazing journey for me to learn about bread - the real bread. Finally, I have discovered the correct way to bake real breads. In my personal point of view, I always believe in one thing - if there is a will, there is a way to do it. Honestly, I have learned from others professional baker's experience by reading their books....etc.  Frankly, I must thank them for sharing their successful bread making technique. Of course, I cannot stop experiment with new recipes & technique. So I believe everyone can bake a good loaf of bread if you really put your heart into it. 

Once I have learned how to make real bread, then I learn to add my personal touch into the bread. This is a very natural process. For example, when I have learned to make the basic rustic country bread. My brain will tell me...why not add some sun dried tomato into it? And I did (see below pic), it turns out great as savory bread.


Later, I will think how to eat these bread to fully maximize its delicious flavour. Hm....a slightly toast bread,  simple omelet (salt & pepper) with ham is super delicious. That's our Saturday breakfast. My kid just love it.

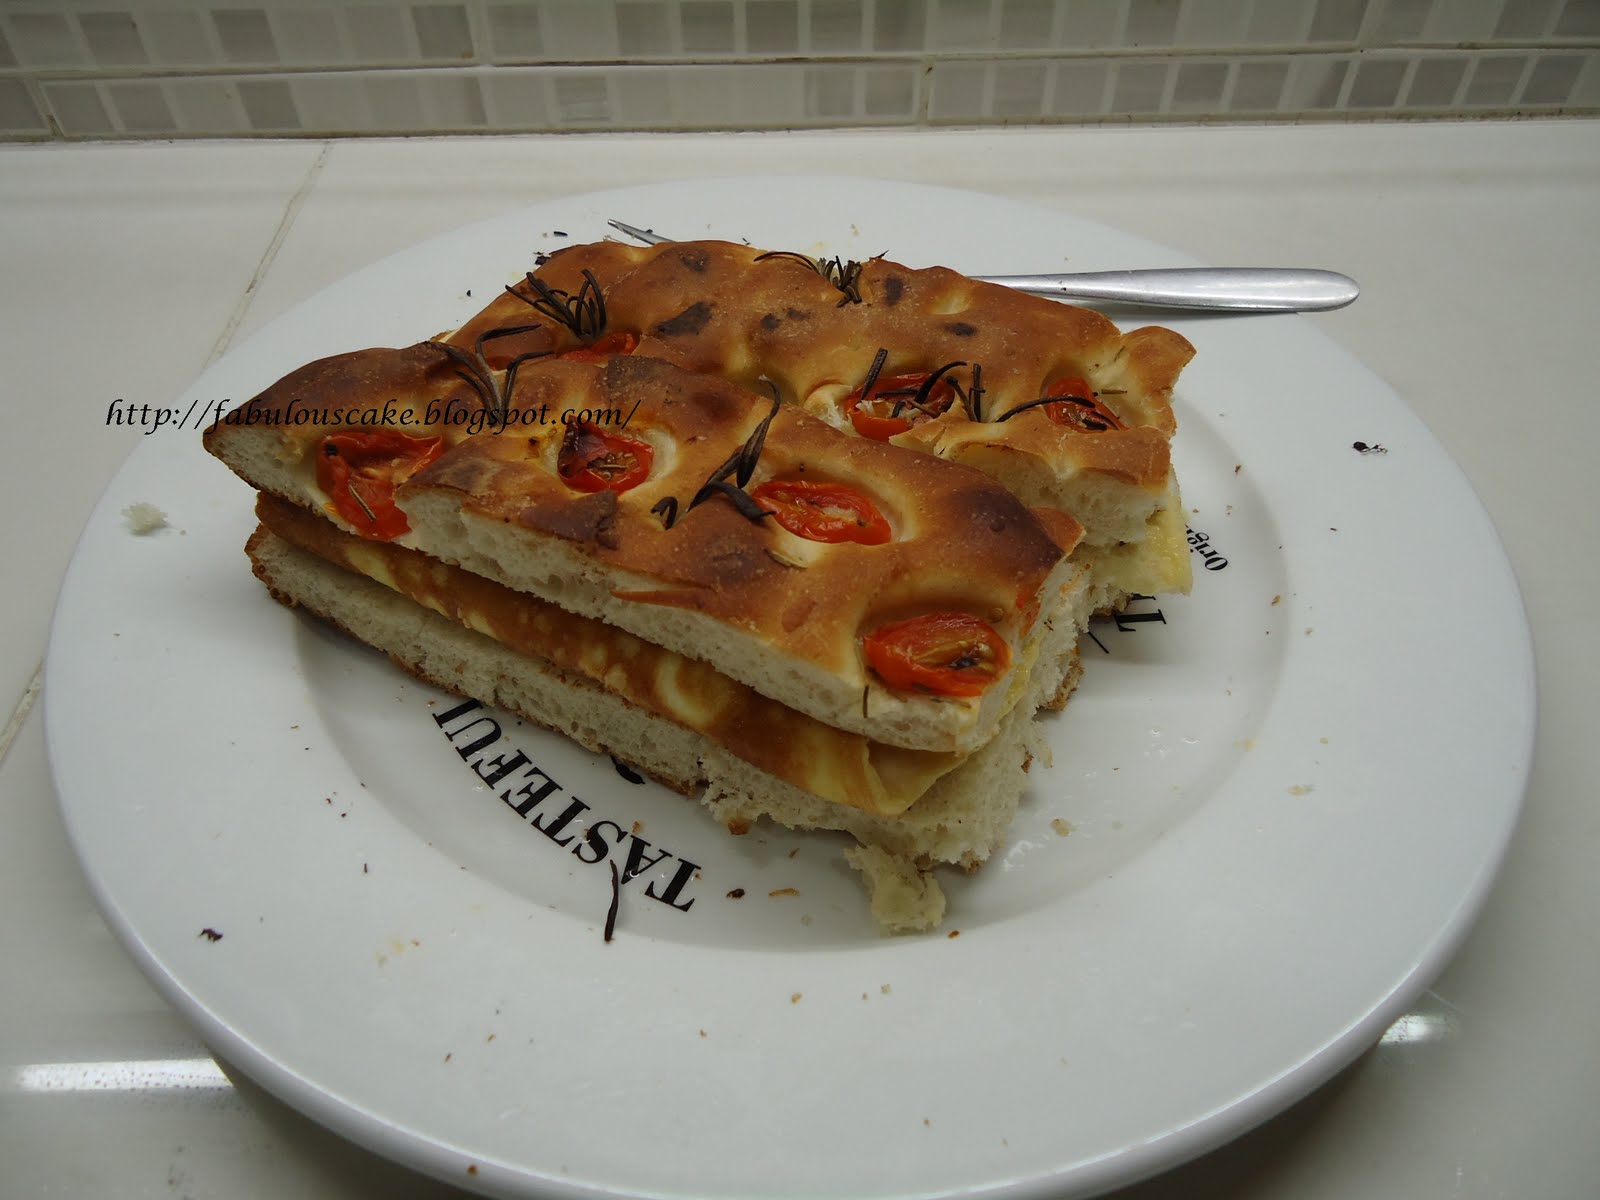
 Lots of ideas come naturally, I thought of baking a Focaccia olive bread with cherry tomatoes. It works!
We just sandwich the omelet in between & it makes a wonderful breakfast. Perhaps some of you must be wondering why I always cook omelet? That's because it is super fast to cook an omelet on a lazy Saturday morning.:)


My child prefer tight crumb texture bread - occasionally I will make Pain Brie (see below ).
 I prefer light Rye bread with has a earthy aroma (see below pics). Normally I do not use too much rye flour because it tends to give a heavier textured crumbs. This is also to avoid my child complaint on the heavy type of rye bread make her teeth more painful. That is because she is in the process of losing her babies teeth.


Today I am going to share a recipes that suits the adults & children. The Basic Baguette which is very versatile. It is good for making sandwiches, crispy on the outside & soft in the inside. It is a very common bread for beginners baker. You can use this simple recipes to make the regular baguette long log shape, round shape, small loaves (proofed in the rattan basket for the beautiful marks. Don't forget to slash your bread before pop into the oven to give those beautiful marks. See below pics:


 Recipes:
 500g unbleached bread flour
 10g salt
 5g dried yeast
 340g plain water ( it is ok to use direct from the tap)

 Method:
1) Mix the bread flour with salt & dried yeast. Mix thoroughly.
2) Add the 340g water into the above. Slightly mix it with a plastic scrapper.
3a) BY MACHINE: Use the kneading hook to knead the bread. Using the slowest speed to start mixing for at least 3 mins, then change it to medium speed for another 7mins.When the flour mixture turns into a smooth surface & come together in a dough. If it is not properly form yet, give it another 2-3mins of kneading at medium speed. Make sure the gluten in the bread is properly formed so that it gives structure to the bread.
 Or
3b) BY HANDS: Beginners are advise to start making bread by hand because you need to get the "feel" of the dough. Hands on is the 1st step to successful bread making. Use you palm to knead the dough. Naturally, you can feel the flour & water is forming the dough. It will get less sticky, after about 8 mins of kneading, you should be able to get a proper dough. Otherwise, you can add another extra 3-5 mins of kneading until the gluten is properly formed. 
4) Form a ball shape & let it proof for 45-60mins. It should be double the size now.
5) Gently use your palm to "punch" the double size dough, release all the air from the dough. Then, divide the dough into 3 portion equally. Then, shape it into a log shape. Let the baguette log shape dough proof in the baking tray for about 45mins.Mark it with beautiful slashes. Then, it is ready to bake.
6) Remember to preheat the oven @230'C about 20mins before the bread is ready for baking. Remember to spray some water on the bread surface just before it goes into the oven. This will give the bread a beautiful brown crust. Bake the 1st 5 mins @230'C, then turn down the head to 180'C for another 15-20mins. No home oven behave the same. You may need to observe the oven & adjust the time accordingly if necessary. It could take longer time if the oven is not hot enough. After remove the bread from the oven, you can tap at the bottom on the bread. When it give a hollow sound, it means it is done. Please cool the bread properly before storing.Ta-da~~ That's the beautiful bread for tomorrow breakfast.
 
Love the big holes insides the bread. It taste especially good when it's toasted.


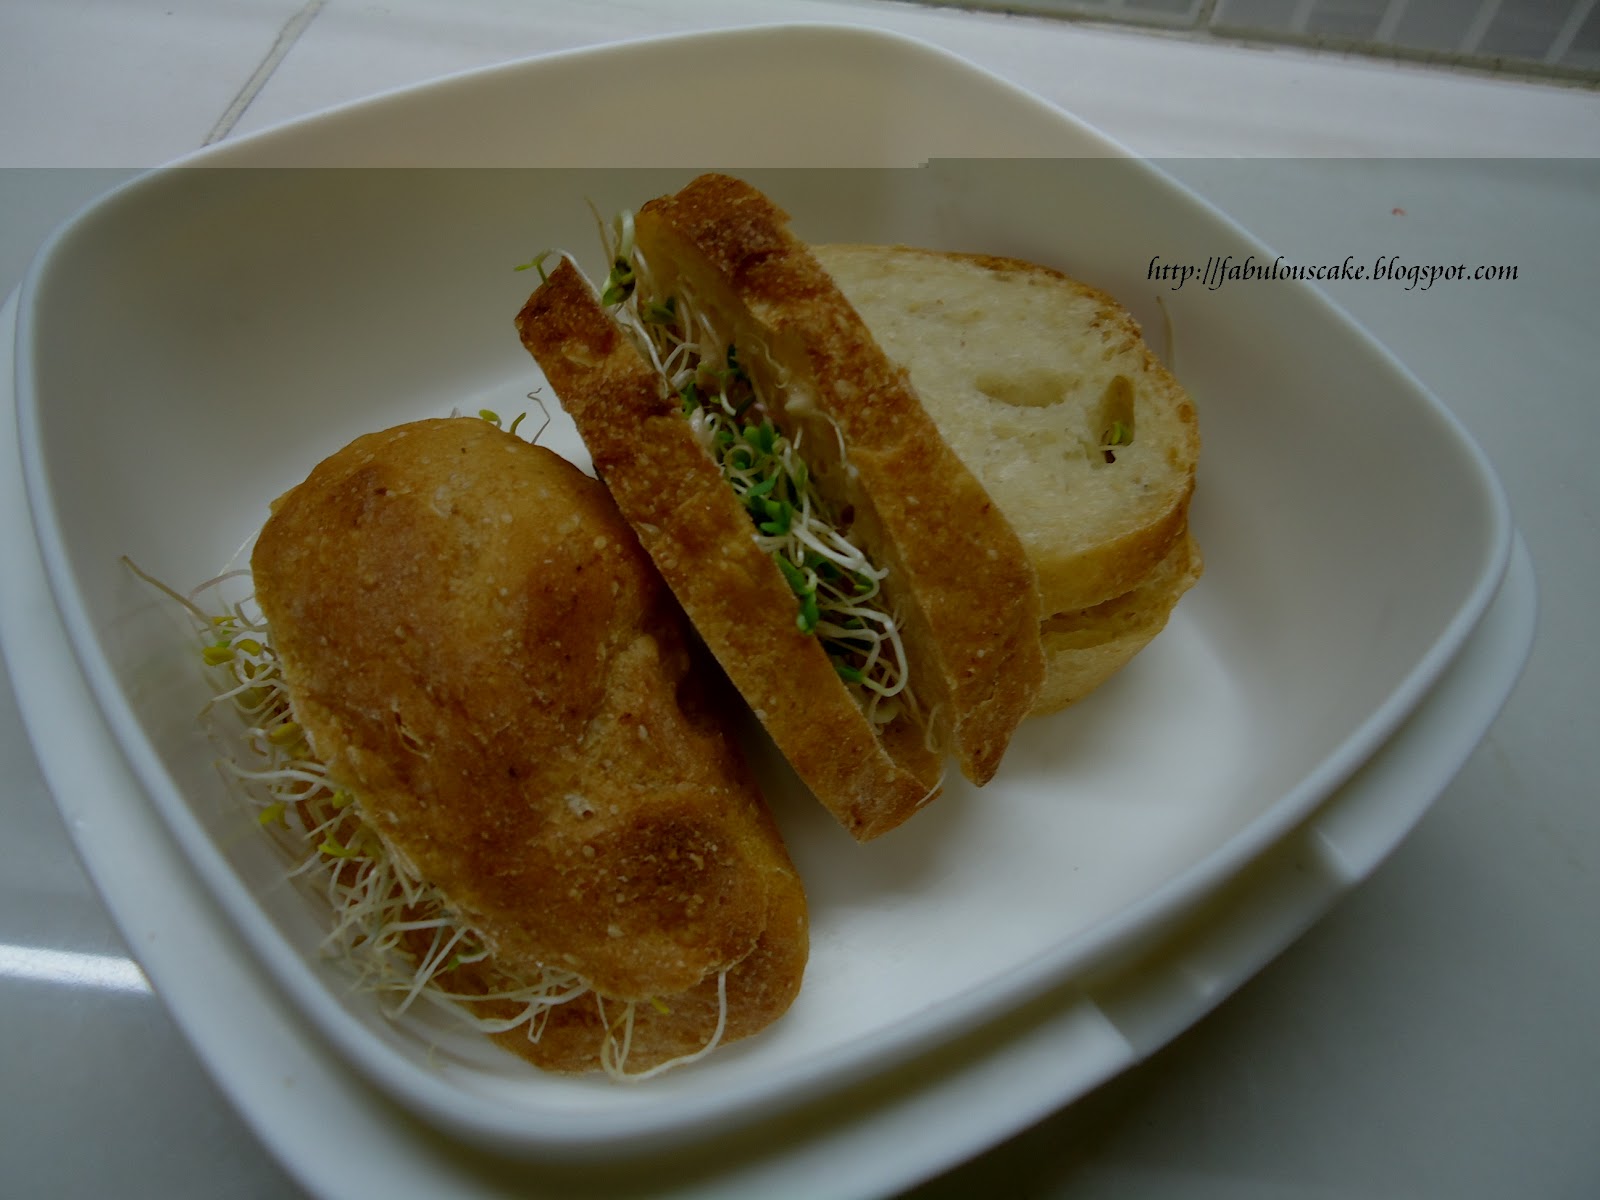
That's my breakfast sandwiches - tuna spread with alfalfa sprout. Yummy~ I find it rewarding to bake my own bread.

Saturday, July 23, 2011

Sweet Dough Buns

What is a sweet dough bun?, it is a bun baked with sweet dough which is usually used to make doughnut.


The difference between this bun and my other bread is that, this is baked using French flour and some European butter that I don't even know how to pronounce the name. The texture is very different from the usual sweet dough buns as the texture is much firmer, in contrast to those locally made ones that is too soft (like chewing into nothing). The quality of the raw material is always the basic factor for a good bread. Try to buy the better quality of the raw ingredients that you can afford it.

There are a lot of good recipes for different type of sweet dough or milk bread, You can pick up some recipes online & from the book store. Do check out the below link which I find very helpful:

http://www.sustainweb.org/realbread/recipes/
http://www.sustainweb.org/realbread/richard_bertinet_sweet_dough/


I find this recipes is so good. It never fail to impress me. Please refer to the below link & give it a try. The good thing about this recipes is it is not too sweet for adults. Give it a try:
http://www.gourmet.com/recipes/2000s/2008/03/sweetdough
This is a very versatile sweet dough. You can make it into different type of bun with cheese, red bean paste, sausages....etc. Let me share with you some of the my creations.

*Sausage & Cheese Bun:
The little greedy hands belong to my little one.
 
 
*Sausage Buns:
 *Assorted Bread Buns:
*Bread Cheese Sticks:
*Red Bean Paste Bun with Sesame:


This soft dough is a good option, because it is a good contrast against the usual European bread that is usually firm and very crusty. This is how it looks like on the inside the sweet dough.


Monday, March 21, 2011

Baking Tools.....etc


Baking is my passion. I always love to collect baking tools...etc. Do you know that you will have a beautiful golden bread if you bake with a granite stone that can be place inside your oven?
Pls make sure you heated the baking stone long enough. The bread crust taste so much better.
Pls also make sure that the granite baking stone you use for baking has not been treated with chemical coating. See below for rye bread pics baked on the granite baking stone.


Love different type of baking basket. It is really hard to get a variety of baking basket in South East Asia. I have got one from the local retailer, it is definitely pricey. Guess what? When I travel, I will definately pick up those stuff whenever possible.

Proving the rye bread ....

After baking with the granite stone......

The granite found it's place in my oven ....


Baking the sourdough with granite stone taste a lot more better......
However, we need to master the skill to load the wet dough onto the pipping hot granite.

Monday, February 14, 2011

Delicious Croutons for Salad

We love greens- salads. We always try to encourage our kid to eat more vegetables. Other than the regular stir fried vegetables which is so common to the Chinese. We wanted her to try something new. I want her to be more adventurous in food & yes..she love food just like we do.

Introduce the delicious homemade croutons! Surprising she love the fresh salad with the crunch.

You can use any type of bread to make croutons. However it is better to use days old bread which already dried out. It is a waste to throw it away, you can make it into croutons & keep in air tight container for soups/salads. The French are very good in maximize the use of the bread.
Personally, I prefer to use low sugar bread e.g. baguette, french country bread or sourdough.

1st step: cut all bread into small cubes.

2nd step: season it properly & bake

Toss all the cube bread with olive oil, salt, pepper, herbs (rosemary/ thyme / basil) & lots of garlic. Bake in the preheated oven @170'c for 5 mins- 10 mins. If you like it crunchier, you can bake it longer but do not burn it.


Enjoy~

Tuesday, May 25, 2010

Organic Red Bean Paste + Bun


Most Asian especially Japanese love read beans. They use a lot of red beans paste in pastry or cuisine. Chinese love red beans too, e.g. red bean soup, red bean steamed bun, red bean moon cake etc. Today, I am using the left over red bean to make into red bean paste for some baked buns.

-Cooked/Left over red bean
-Sugar - approx 1/3 of the weight of the cooked red bean
You may adjust the sweetness of the red bean to your personally taste

Method:
Blend the cooked red bean with sugar in the mixer.
Then cooked it with medium fire, keep on stirring until the water dry out.
Keep an eye on the red bean, otherwise, it will burn.

Below is the end result: coarse organic red bean paste.

I used the whole red bean paste including the skin. Therefore, it is not very smooth.


Just use the normal bread dough recipies:
http://www.jamieoliver.com/recipes/bread-recipes/basic-bread-recipe

Method:
1) After you have done proofing the basic bread dough
2) Flatten the dough into a square shape if possible
3) Spread the read bean paste on top of the flatten dough
4) Roll it up like a Swiss roll
5) Cut it & lay the bread dough just like what you see here
6) Proof it until it is double in size

It is ready to go into the oven.

Bake in a piping hot oven.
Don't worry if the red bean paste burn a little. It is pretty common because it contains sugar. That was really good for my weekdays breakfast.

Saturday, April 10, 2010

Kimchi in Baguette

My hubby was watching T.V. the other day & he told me that even the Kimchi can be used in bread making. Since I have been very adventurous with food & all the raw material is available. I must try it in the bread, in my case, I am making a baguette.
You can use it in any bread. Just pick a good bread recipies from:
http://www.kingarthurflour.com/recipes/gluten-free-sandwich-bread-recipe

Before you add the kimchi into the bread mixture. Pls make sure that the kimchi is drained properly. Excess water in bread is not a good thing. Squeeze out all the water in the kimchi & cut it into small pcs. Then, it would be easier to lay it on the bread. You know what? The taste of the bread is actually quite unique, it taste like sundried tomatoes with an asean touch. See it for yourself. The bread was good.