

Once I have learned how to make real bread, then I learn to add my personal touch into the bread. This is a very natural process. For example, when I have learned to make the basic rustic country bread. My brain will tell me...why not add some sun dried tomato into it? And I did (see below pic), it turns out great as savory bread.

Later, I will think how to eat these bread to fully maximize its delicious flavour. Hm....a slightly toast bread, simple omelet (salt & pepper) with ham is super delicious. That's our Saturday breakfast. My kid just love it.

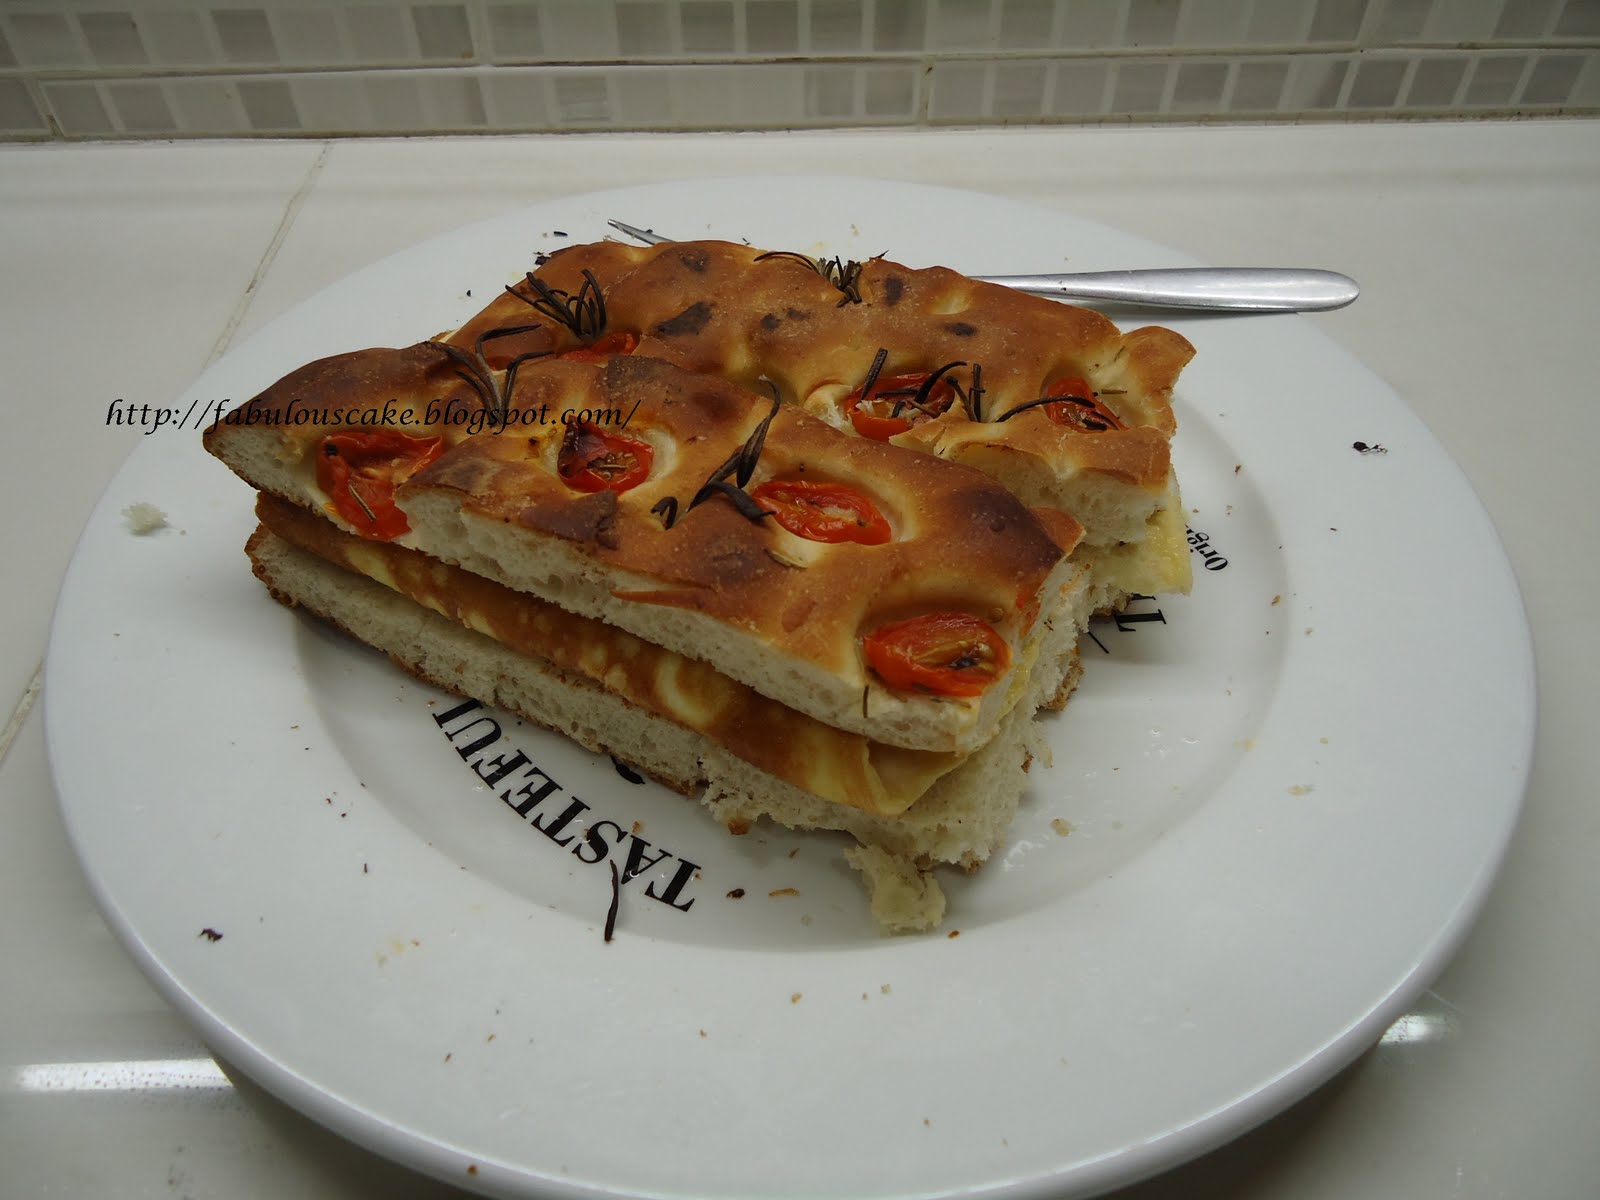
Lots of ideas come naturally, I thought of baking a Focaccia olive bread with cherry tomatoes. It works!
We just sandwich the omelet in between & it makes a wonderful breakfast. Perhaps some of you must be wondering why I always cook omelet? That's because it is super fast to cook an omelet on a lazy Saturday morning.:)
My child prefer tight crumb texture bread - occasionally I will make Pain Brie (see below ).

I prefer light Rye bread with has a earthy aroma (see below pics). Normally I do not use too much rye flour because it tends to give a heavier textured crumbs. This is also to avoid my child complaint on the heavy type of rye bread make her teeth more painful. That is because she is in the process of losing her babies teeth.


Recipes:
500g unbleached bread flour
10g salt
5g dried yeast
340g plain water ( it is ok to use direct from the tap)
Method:
1) Mix the bread flour with salt & dried yeast. Mix thoroughly.
2) Add the 340g water into the above. Slightly mix it with a plastic scrapper.
3a) BY MACHINE: Use the kneading hook to knead the bread. Using the slowest speed to start mixing for at least 3 mins, then change it to medium speed for another 7mins.When the flour mixture turns into a smooth surface & come together in a dough. If it is not properly form yet, give it another 2-3mins of kneading at medium speed. Make sure the gluten in the bread is properly formed so that it gives structure to the bread.
Or
3b) BY HANDS: Beginners are advise to start making bread by hand because you need to get the "feel" of the dough. Hands on is the 1st step to successful bread making. Use you palm to knead the dough. Naturally, you can feel the flour & water is forming the dough. It will get less sticky, after about 8 mins of kneading, you should be able to get a proper dough. Otherwise, you can add another extra 3-5 mins of kneading until the gluten is properly formed.
4) Form a ball shape & let it proof for 45-60mins. It should be double the size now.
5) Gently use your palm to "punch" the double size dough, release all the air from the dough. Then, divide the dough into 3 portion equally. Then, shape it into a log shape. Let the baguette log shape dough proof in the baking tray for about 45mins.Mark it with beautiful slashes. Then, it is ready to bake.
6) Remember to preheat the oven @230'C about 20mins before the bread is ready for baking. Remember to spray some water on the bread surface just before it goes into the oven. This will give the bread a beautiful brown crust. Bake the 1st 5 mins @230'C, then turn down the head to 180'C for another 15-20mins. No home oven behave the same. You may need to observe the oven & adjust the time accordingly if necessary. It could take longer time if the oven is not hot enough. After remove the bread from the oven, you can tap at the bottom on the bread. When it give a hollow sound, it means it is done. Please cool the bread properly before storing.Ta-da~~ That's the beautiful bread for tomorrow breakfast.

Love the big holes insides the bread. It taste especially good when it's toasted.

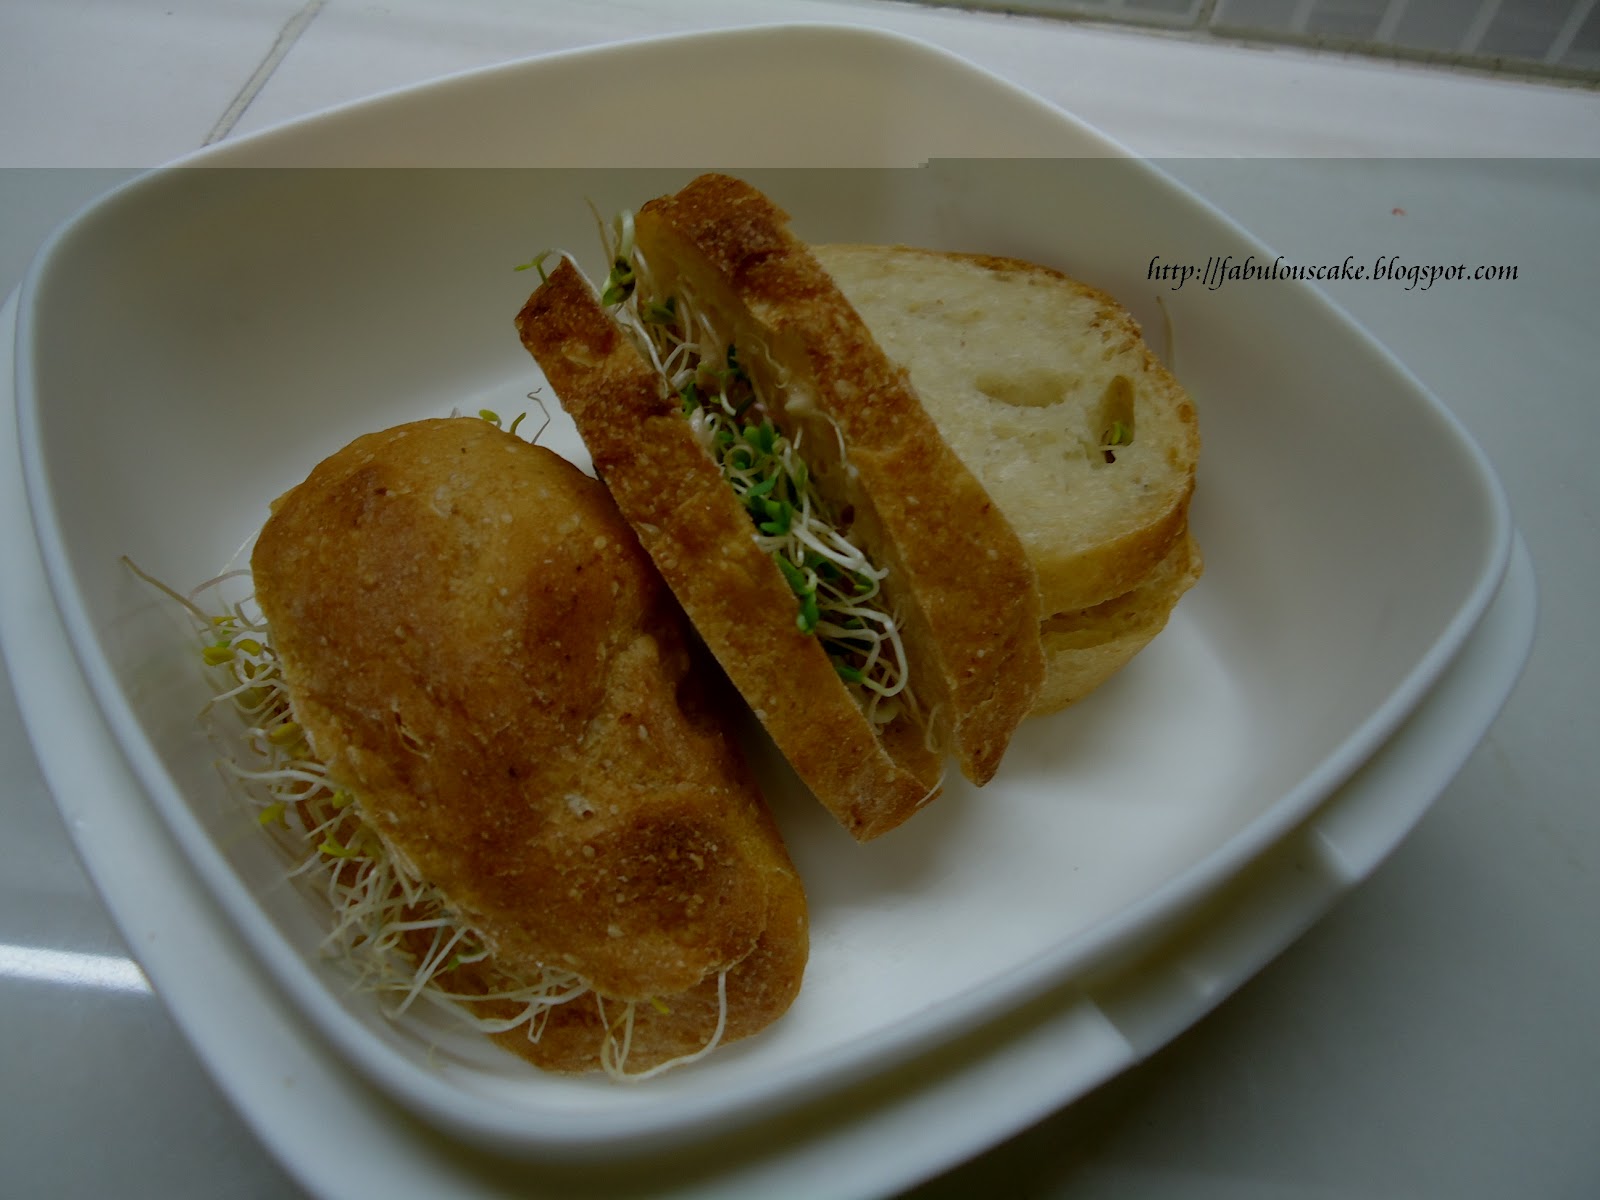
That's my breakfast sandwiches - tuna spread with alfalfa sprout. Yummy~ I find it rewarding to bake my own bread.


0 comments:
Post a Comment